Creating your own black light using LED lights is a fun and creative way to add a unique ambiance to any party or event. If you’ve ever wondered how to make UV light at home, you’re in the right place. Whether you need it for aesthetics, to support plant growth with essential minerals, or for creative endeavors, making a black light is simpler than you think.
Why Make Your Own Black Light?
I’ve always loved experimenting with lighting, and black lights have a special charm. They create a colorful and exciting atmosphere that’s perfect for impressing guests. Plus, with just a few simple supplies, you can easily create your own. LED lights, especially ultraviolet light types, are a popular choice because they’re accessible and energy-efficient.
The process is relatively straightforward. Once you understand the basics—like how ultraviolet light interacts with materials to make them glow—you’ll see why this DIY project is so rewarding. From preparation to building, each step is designed to be easy, even for beginners. So, if you’re looking to add a unique touch to your home decorating or want to explore the capabilities of black lights, this guide will walk you through everything you need to know.
Make UV Light with an LED Flashlight
Here’s what you’ll need:
- LED flashlight or standard flashlight as your base.
- Clear cellophane in purple and blue for filtering light.
- Yellow highlighter to create fluorescein for testing.
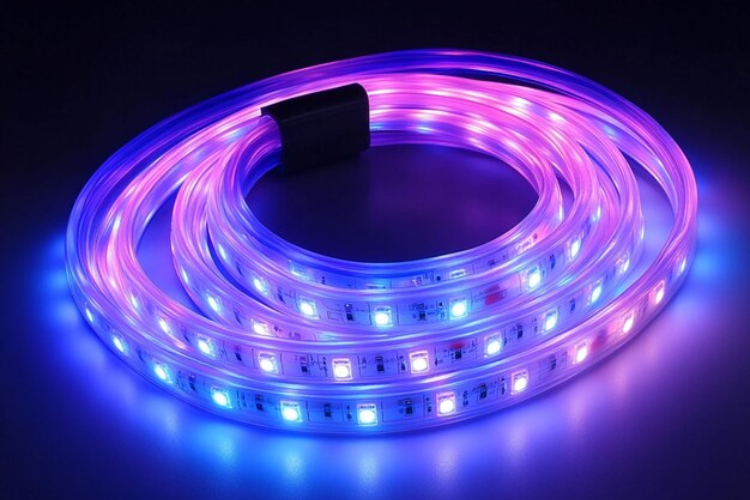
- LED strip lights with visible light-blocking paint.
- Power supply and transparent covers for protection.
Step-by-Step Instructions
Step 1: Choose a Light Source
Start with a standard LED flashlight or LED strip as your light source. Ensure the battery is fully charged and the device is functioning by turning it on briefly. If using LED strips, inspect for fraying or exposed wires, clean them thoroughly with an alcohol-based cleaner, and cut to size if needed.
Step 2: Adjust the Frame for LED Strip Lights
Before placing the LED strip, prepare the frame by ensuring it’s clean and free of dirt. Check the area where you’ll apply adhesive to guarantee a smooth and secure fit. A clean surface ensures the strip stays firmly in place.
Step 3: Attach LED’s to the Frame
Using your preferred adhesive, carefully attach the LED strip to the frame. If your strip has double-sided adhesive tape, it makes the job even easier. Ensure the strip is firmly secured for the best results.
Step 4: Position the Frame Under Light and Apply Epoxy
Place the contraption under a bright light to see clearly. Gently apply epoxy on the LED strip surface for a smooth finish. If using cellophane, lay it carefully to avoid air bubbles and ensure even coverage.
Step 5: Apply Blacklight Paint for a Glow Effect
Start by carefully applying blacklight paint in thin, even coats to make the frame absorbent and visible under UV light. Wait for each coat to dry before applying another, ensuring a safer and smoother finish. Follow this process until you’re satisfied with the glow!
Applications of Black Light
Parties and Clubs
Black lights are a popular choice for creating a fun, vibrant atmosphere. They highlight decorations and make glowing elements visible, perfect for dancing and socializing.
DIY Projects
These lights are a staple for creative projects, adding a unique touch to home decor or party setups. They’re easy to use and affordable, making them a versatile tool.
Video Production
Often used for special effects, black lights enhance the mood and add depth to scenes. They create a surreal, otherworldly look, making videos more interesting.
Glowing Decor
With glowing cellophane or backdrops, black lights add flair to any space. They’re perfect for highlighting creative designs and adding a touch of magic.
Conclusion
Black lights are a fun and versatile tool with a variety of uses, from throwing a glowing party to creating cool DIY projects or working on video production. They add a unique and interesting touch to any setting. Try testing your UV blacklight with fluorescein extracted from a yellow highlighter pen dipped in a rubbing alcohol solution—the results are incredible! If you enjoyed learning how to make a UV light with LED lights, keep experimenting with DIY projects to discover even more creative applications for your homemade creations.
FAQs
1. What materials do I need to make a black light with LED lights?
You’ll need LED strip lights, a transparent filter (like epoxy or cellophane), a power supply, and a frame to hold everything together. Optional items include blacklight paint for extra glow effects.
2. Can I use any LED strip lights to create a black light?
Not all LED strips work. You need UV LED strip lights specifically designed to emit ultraviolet light, as regular LEDs won’t produce the same effect.
3. How do I test if my DIY black light is working?
Use a yellow highlighter pen or fluorescein mixed with rubbing alcohol. Under the black light, these materials will glow brightly, confirming your setup works.
4. Are there any safety precautions I should take when using UV lights?
Yes, always avoid looking directly at the UV light source and wear protective eyewear. Prolonged exposure can harm your skin and eyes, so use sunscreen and limit direct contact.
5. What are some creative ways to use a DIY black light?
You can use it for glowing party decor, DIY art projects, video production effects, or even to highlight fluorescent designs on walls or clothing. The possibilities are endless!
5. What are some creative ways to use a DIY black light?
You can use it for glowing party decor, DIY art projects, video production effects, or even to highlight fluorescent designs on walls or clothing. The possibilities are endless!